Every cherry season is the perfect time to make homemade cherry jam. This easy 3-ingredient recipe captures the fresh, sweet flavor of cherries without using pectin. Whether you use fresh or frozen cherries, the result is a rich, flavorful spread that’s perfect for toast, yogurt, desserts, or everyday breakfasts.
If you have extra cherries or want a simple way to preserve seasonal fruit, this recipe is a great choice. It uses less sugar to let the natural cherry flavor shine, comes together with minimal effort, and thickens beautifully as it cools. Whether you’re making jam for the first time or adding another favorite to your collection, this foolproof recipe delivers delicious results every time.
Cherry Jam Recipe-The Short Answer

Before you start, skim through the ingredients and steps below — I’ve kept everything super simple! And once you’re ready, there’s a quick video at the end to see exactly how it’s done.
Why You’ll Love
If you enjoy homemade treats but have a busy schedule, this cherry jam recipe is designed to be simple, reliable, and rewarding. With just three ingredients—fresh or frozen cherries, sugar, and fresh lemon juice—it follows an easy step-by-step method that’s perfect for beginners and first-time jam makers.
- This foolproof recipe delivers consistent results with very little guesswork.
- The chilled plate test helps ensure the jam sets properly, giving you a smooth, spreadable texture instead of a runny consistency.
- Although cherries are naturally lower in pectin than some fruits, they thicken beautifully with sugar and lemon juice, so no added pectin is needed.
Whether you make it during peak cherry season or with frozen cherries any time of year, this kitchen-tested recipe is quick, forgiving, and easy to follow. It also makes a thoughtful homemade gift for family and friends.
Ingredients Needed
Great cherry jam starts with good-quality ingredients. Fresh black sweet cherries are ideal during peak season because they offer the richest flavor, but frozen cherries work just as well, making this an easy recipe to enjoy year-round. Different cherry varieties may slightly affect the cooking time and final texture.
For this small-batch recipe, you’ll need:
- 4 cups sweet cherries, washed, pitted, and halved
- 1 to 1¼ cups granulated sugar, adjusted to the natural sweetness of the cherries
- 2 tablespoons fresh lemon juice
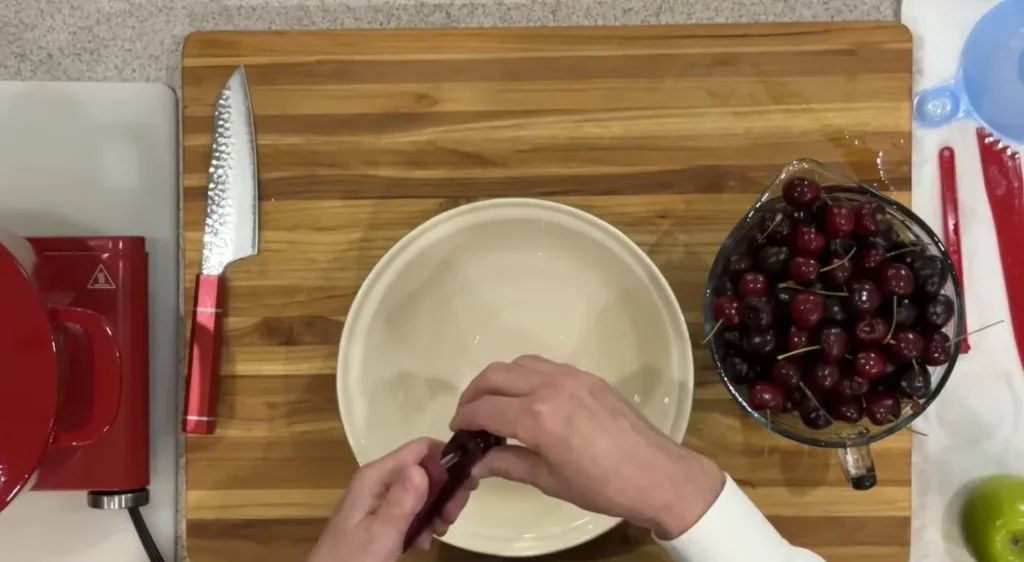
Before cooking, remove the pits with a cherry pitter or a small paring knife. If black cherries are available, they are another excellent choice. The lemon juice not only brightens the flavor but also provides the acidity needed to help the jam set naturally while supporting longer storage.
How To Cook
If you’re using fresh cherries, pit and cut them into halves or quarters, depending on their size.
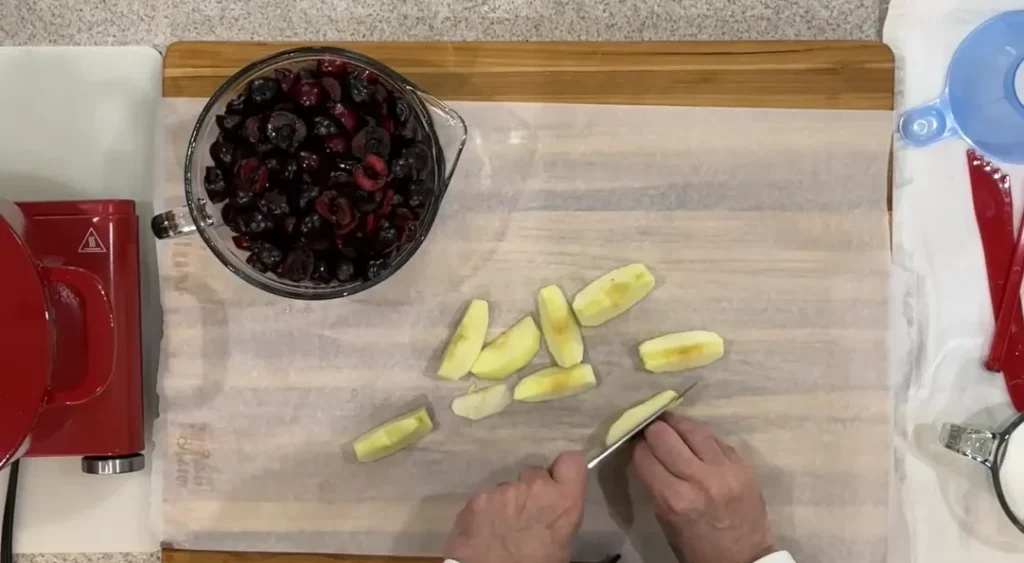
Then start by adding the prepared cherries, sugar, and lemon juice to a medium saucepan or heavy-bottomed pot.
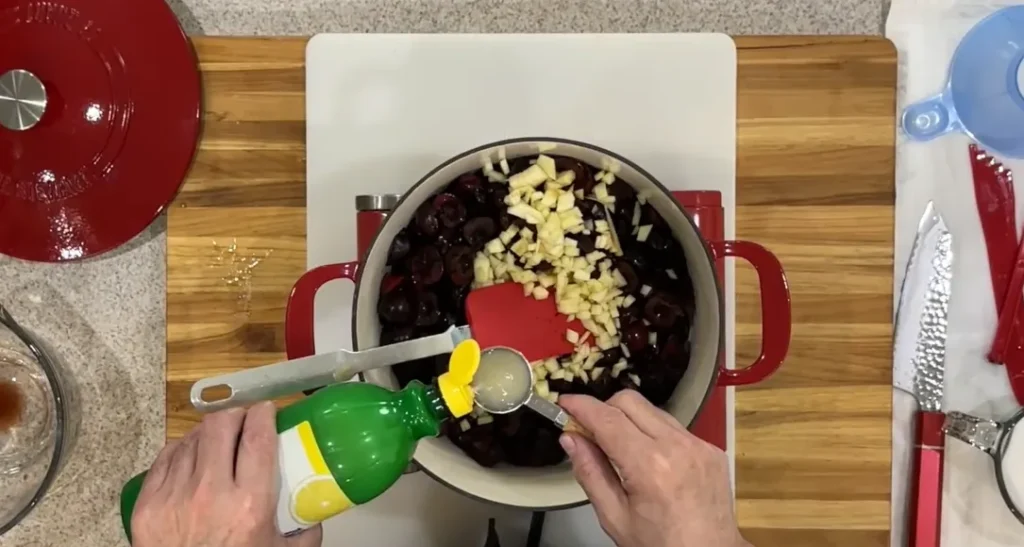
Stir everything together, then let the mixture macerate for 30–60 minutes so the cherries release their natural juices and the sugar begins to dissolve. If you’re using frozen cherries, you can skip the resting time and begin cooking immediately.
Cook the Jam
Place the pot over medium heat and stir occasionally until the sugar has completely dissolved and the syrup turns a deep red. As the cherries soften, they’ll begin to break down naturally.
Bring the mixture to a gentle rolling boil,
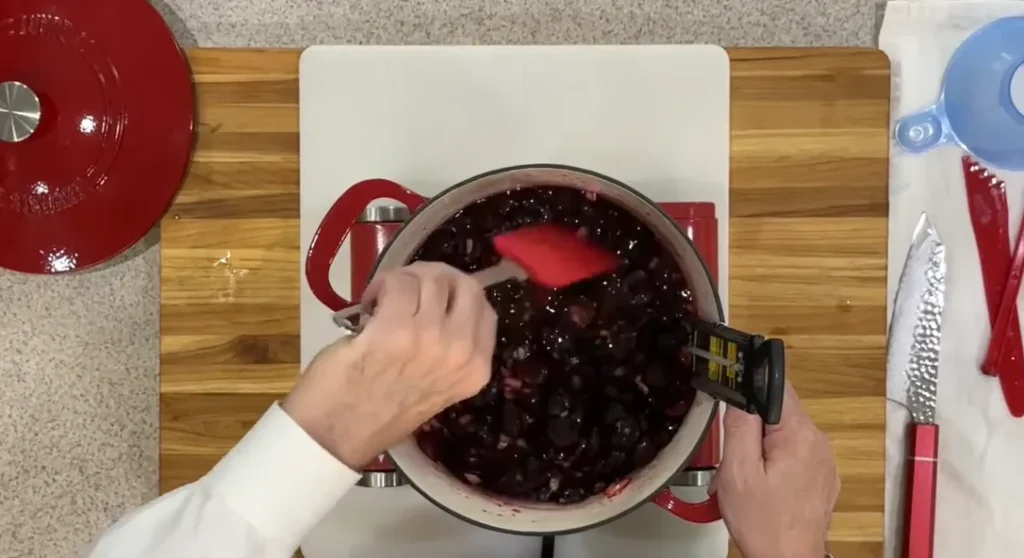
then reduce the heat to low and cook for 20–30 minutes, stirring frequently to prevent sticking. The mixture will gradually thicken as moisture evaporates. Keep in mind that the jam will continue to thicken as it cools, so avoid overcooking it. If it still looks too thin, cook for another minute or two before testing again.
Check for Doneness
There are two simple ways to check whether the jam is ready.
Plate Test
Spoon a small amount of jam onto a chilled plate and let it sit for 15–20 seconds.
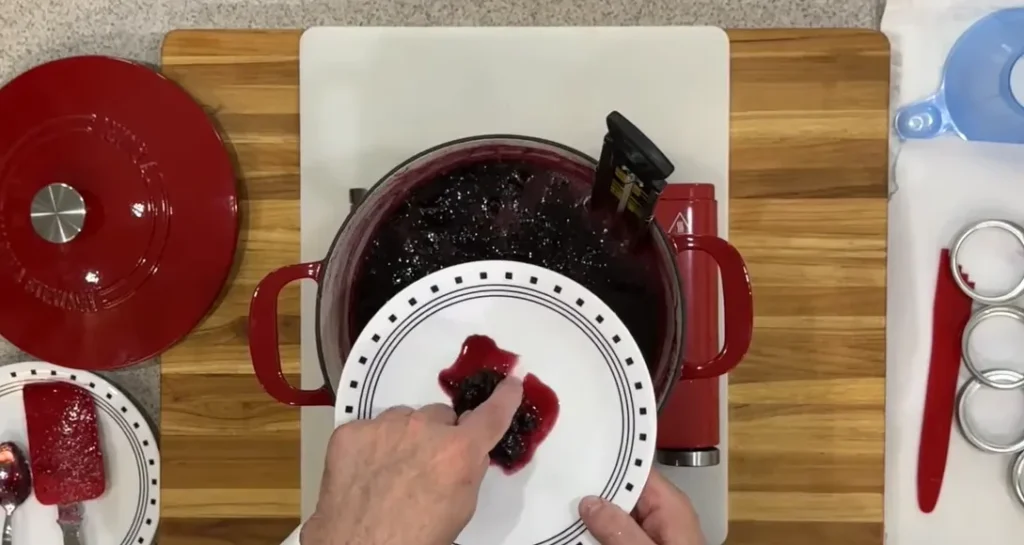
Run your finger through the center or tilt the plate slightly. If the jam holds its shape and doesn’t flow back together, it’s ready. If it spreads easily, continue cooking for another minute before testing again.
Temperature Test
For the most reliable result, use a candy thermometer. The jam is ready when it reaches 220°F (105°C).
If you prefer a smoother texture, blend the jam with an immersion blender while keeping the blender head fully submerged. Blend in short bursts until the larger cherry pieces are broken down, then remove the pot from the heat and let the jam cool for about 10 minutes before filling the jars.
Fill and Store the Jars
While the jam cools slightly, prepare your jars by washing them thoroughly with hot, soapy water and drying them well. For longer storage, sterilize the jars and lids in a hot oven or air fryer, and always use oven gloves when handling hot glass.
Carefully ladle the warm jam into the prepared jars, leaving the recommended headspace if you plan to process them for canning. Wipe the rims clean, place the lids on, and seal them securely.
For refrigerator jam, allow the jars to cool completely before refrigerating. If you’re freezing the jam, leave enough space at the top of each jar for expansion. For shelf-stable storage, process the filled jars in a boiling water bath according to safe canning guidelines.
For the best consistency, let the jam set overnight before serving. During cooking, keep an eye on the pot, as the mixture can bubble vigorously and splatter once it reaches a boil.
Variations
Adjust the Sweetness and Fruit
One of the easiest ways to customize this recipe is by adjusting the sweetness before experimenting with other flavors. If you prefer a tarter jam, reduce the sugar from 1 to 1¼ cups to ¾ to 1 cup, while keeping the same ratio of cherries and lemon juice. Since sugar helps the jam set, using less may result in a slightly softer consistency.
This recipe also works well with other stone fruits, making it easy to create different homemade jams. Try using:
- Peaches
- Plums
- Apricots
When I have plenty of cherries, I simply double the recipe, use a larger pot, and make extra jars to enjoy later or share with family and friends.
Try Different Flavor Infusions
Once you’ve mastered the basic recipe, it’s easy to create new flavor combinations. Stir in any optional ingredients near the end of cooking so their flavors remain fresh and balanced.
Some delicious options include:
- A pinch of cinnamon and cardamom
- One cinnamon stick for a subtle warm spice
- ½ teaspoon vanilla extract
- ½ teaspoon almond extract
- Seeds from one vanilla bean
- 1 tablespoon Kirsch cherry liqueur after removing the jam from the heat
- A splash of balsamic vinegar with freshly cracked black pepper for a richer, savory twist
If you enjoy a smoother spread, blend the cooked jam with an immersion blender for a few seconds until it reaches your preferred texture.
Creative Serving Ideas
Cherry jam is much more versatile than simply spreading it on toast. Here are a few of my favorite ways to enjoy it:
- Swirl it into Greek yogurt or oatmeal for an easy breakfast.
- Spread it over toast with butter, cream cheese, or your favorite nut butter.
- Use it as a filling for cakes, pastries, cookies, or thumbprint biscuits.
- Spoon it over vanilla ice cream, cheesecake, or pancakes.
- Serve it alongside a cheese board with sharp cheddar, brie, or goat cheese.
- Brush it over roasted pork or chicken during the final few minutes of cooking for a sweet and savory glaze.
- Stir a spoonful into sparkling water, prosecco, or your favorite cocktail for a fruity twist.
Every batch has its own unique balance of sweetness and fruit flavor, making each jar a little different from the last.
Expert Tips
Prepare the Cherries Properly
Good cherry jam starts with well-prepared fruit. Remove the pits before cooking, then cut larger cherries into halves or quarters so they soften more evenly. Letting the cherries rest with the sugar for 30–60 minutes helps release their natural juices, dissolve the sugar, and develop a richer flavor.
Cook Gently
For the best texture, start over medium heat until the mixture begins to bubble, then reduce the heat and cook gently while stirring often.
Keep these tips in mind:
- Stir regularly to prevent sticking or scorching.
- The jam will look thinner while it’s hot and continue to thicken as it cools.
- Avoid cooking until all the liquid has evaporated, as this can make the jam too thick.
- If the jam becomes overly thick, stir in a small amount of hot water and cook for another minute or two until it reaches your preferred consistency.
Test for Doneness
There are two reliable ways to check if the jam has finished cooking.
- Use the chilled plate test by placing a spoonful of jam on a cold plate. If it wrinkles or holds its shape after running your finger through it, it’s ready.
- For extra accuracy, use a candy thermometer and cook until the jam reaches 220°F (105°C).
Allow the jam to cool completely before storing, as it will continue to firm up during cooling.
Prepare Your Jars
Clean jars help extend freshness and improve storage.
- Wash jars and lids thoroughly with hot, soapy water or run them through a hot dishwasher cycle.
- If you’re planning to store the jam for longer, sterilize the jars in a hot oven or air fryer for 8–10 minutes.
- For water bath canning, prepare the canning pot, rack, jar lifter, jars, lids, and bands before you begin.
- Fill each jar while the jam is still hot, wipe the rims clean, and tighten the lids until they are fingertip tight before processing.
Store It Properly
- Refrigerate the jam for up to 3 weeks if it hasn’t been processed for canning.
- Freeze for up to 6 months in freezer-safe jars, leaving ½ inch of headspace for expansion.
- For water bath canning, leave ¼ inch of headspace before sealing.
- Thaw frozen jam overnight in the refrigerator before serving.
- Always use a clean spoon to prevent contamination and help the jam stay fresh longer.
Nutrition Insight
From my experience, homemade cherry jam is best enjoyed in moderation because the nutritional values vary depending on the amount of sugar used and the serving size. A typical batch contains approximately:
- Calories: 740 kcal
- Carbohydrates: 189 g
- Protein: 3 g
- Fat: 1 g
- Saturated Fat: 0.2 g
- Polyunsaturated Fat: 0.3 g
- Monounsaturated Fat: 0.3 g
- Sodium: 11 mg
- Potassium: 565 mg
- Fiber: 5 g
- Sugar: 177 g
- Vitamin A: 4170 IU
- Vitamin C: 33 mg
- Calcium: 54 mg
- Iron: 1 mg
These values are estimates and may vary depending on the type of cherries, the amount of sugar, and the final serving size.
FAQ’s
Can Frozen Cherries Make Good Jam?
Yes. Frozen cherries work just as well as fresh cherries and are a great option when they are out of season. Since frozen fruit releases extra moisture as it thaws, the mixture may take a few additional minutes to reach the proper consistency.
Will Reducing Sugar Affect Cherry Jam?
Yes. Sugar does more than add sweetness—it also helps preserve the jam and contributes to a proper set. Reducing the sugar slightly is fine, but using too little may produce a softer, more sauce-like consistency and shorten the storage life.
How Can You Remove Cherry Pits Without Special Tools?
If you don’t have a cherry pitter, you can remove the pits with a sturdy straw, a chopstick, or the tip of a piping bag. Push the pit through the center of each cherry until it pops out. While this method is slower, it works well for small batches.
What Causes Cherry Jam to Become Grainy?
Grainy or crystallized jam usually happens when sugar crystals remain on the sides of the pot and are stirred back into the mixture. To prevent this, make sure the sugar has fully dissolved before bringing the jam to a boil, and avoid scraping the sides of the pot once it starts cooking.
Is Lemon Juice Really Necessary for Cherry Jam?
Yes. Lemon juice provides the acidity needed to help the jam set naturally while also enhancing the cherry flavor. Fresh or bottled lemon juice both work well in this recipe.
How Do You Get the Best Cherry Jam Flavor?
For the best flavor, use ripe, good-quality cherries and avoid adding more sugar than necessary. A small amount of fresh lemon juice balances the sweetness and allows the natural fruit flavor to stand out.
Does Cherry Jam Need Pectin to Thicken?
No. Although cherries are naturally lower in pectin than some fruits, they thicken well when cooked with sugar and lemon juice. As the mixture cooks and reduces, it develops a rich, spreadable consistency without the need for added pectin.