Nothing beats the taste of homemade strawberry jam made with fresh strawberries. This Strawberry Jam Recipe creates a soft, spreadable, and naturally delicious jam with bright, fresh fruit flavor. The classic recipe is made without pectin, while an optional pectin method is included for anyone who prefers a quicker set.
If you’re looking for an easy strawberry preserves recipe, this method is simple enough for beginners while delivering reliable results every time. After testing both methods in my own kitchen, I found they each offer a delicious way to preserve fresh strawberries without complicated techniques. Whether you’re making a small batch for the refrigerator or preserving jars for long-term storage, this recipe is a great way to enjoy strawberries throughout the year.
Strawberry Jam-The Short Answer

Before you start, skim through the ingredients and steps below — I’ve kept everything super simple! And once you’re ready, there’s a quick video at the end to see exactly how it’s done.
Enjoy homemade strawberry jam on warm biscuits, toast, English muffins, pancakes, waffles, or paired with peanut butter. It is equally delicious stirred into yogurt, spooned over desserts, or added to a grilled cheese for a sweet surprise. Refrigerate the jam for everyday use or preserve it with the water bath canning method for longer storage.
Ingredients Needed
Choose fresh, ripe strawberries for the best flavor, color, and natural sweetness. Wash the berries thoroughly, then remove the leafy stems with a paring knife before lightly crushing them with a potato masher.
Since this recipe includes both methods, use the ingredient list that matches the version you want to prepare.
Without Pectin
- 2 pounds fresh strawberries, hulled (about 4 cups crushed strawberries)
- 4 cups granulated sugar
- ¼ cup fresh lemon juice
With Pectin
- 3 pounds fresh strawberries, hulled (about 5 cups crushed strawberries)
- 6 tbsp fruit pectin
- 7 cups granulated sugar
- ¼ cup fresh lemon juice
Optional
- Xylitol or Monk Fruit sweetener (may slightly change the final texture)
Why These Ingredients Matter
Fresh strawberries are the foundation of a flavorful homemade jam, so choose ripe berries without bruises whenever possible. Lemon juice brightens the flavor while helping the fruit develop a better gel, especially in the without pectin version.
Sugar does more than sweeten the jam. It helps create the proper consistency, supports preservation, and balances the natural tartness of the strawberries. If you’re making the pectin version, fruit pectin creates a firmer set with a much shorter cooking time.
For successful canning, always use clean, sterilized half-pint jars, properly fitting lids, and a boiling water canner or a large stockpot fitted with a rack. If preferred, Xylitol or Monk Fruit can be used as alternative sweeteners, although the final texture and setting time may vary slightly.
How To Cook
Prepare the Strawberries
Wash and hull the strawberries, then place them in a wide bowl.
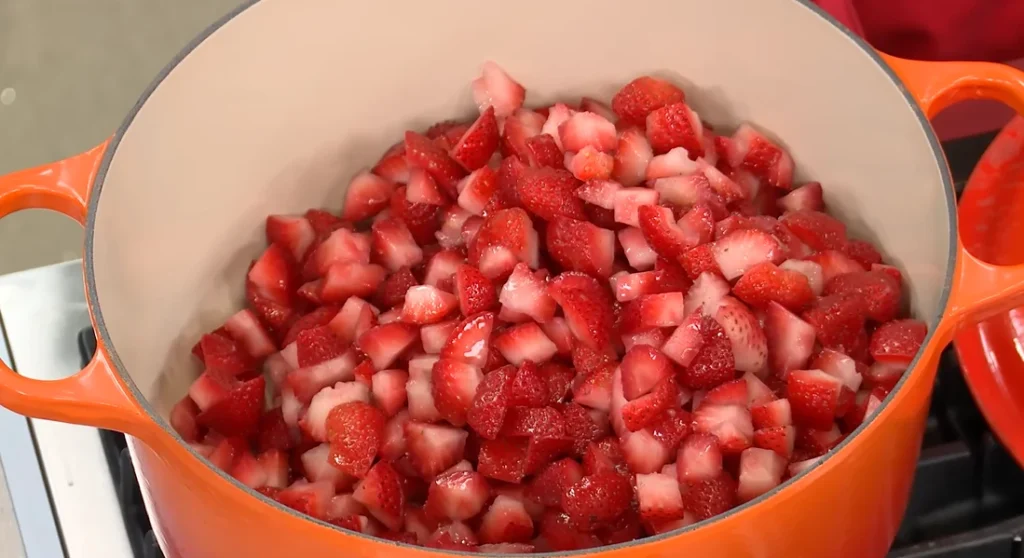
Using a potato masher, lightly crush the berries.
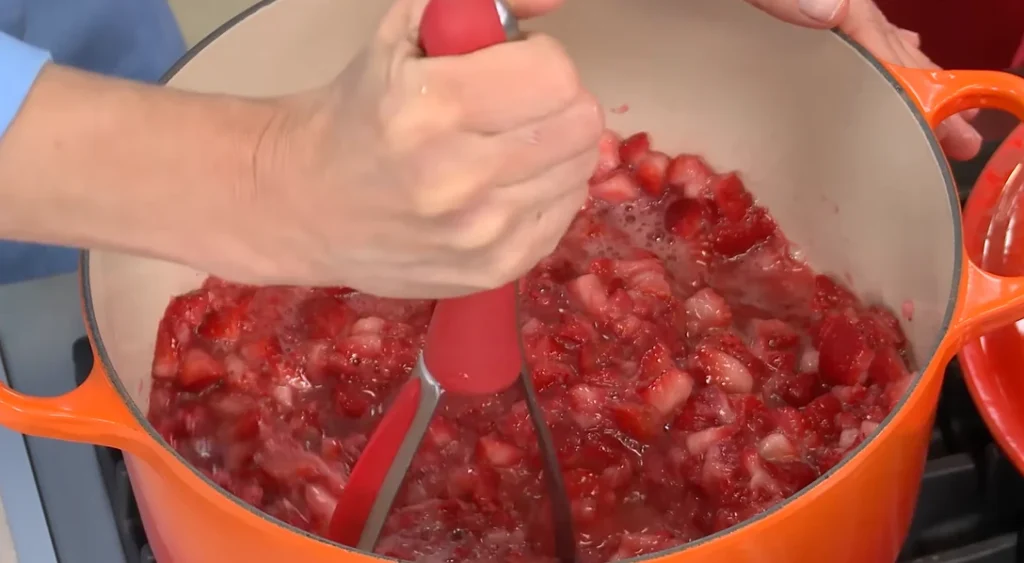
- For the without pectin version, crush enough strawberries to make about 4 cups.
- For the with pectin version, crush enough strawberries to make about 5 cups.
Transfer the crushed strawberries to a 6- or 8-quart heavy-bottomed saucepan and add the lemon juice.
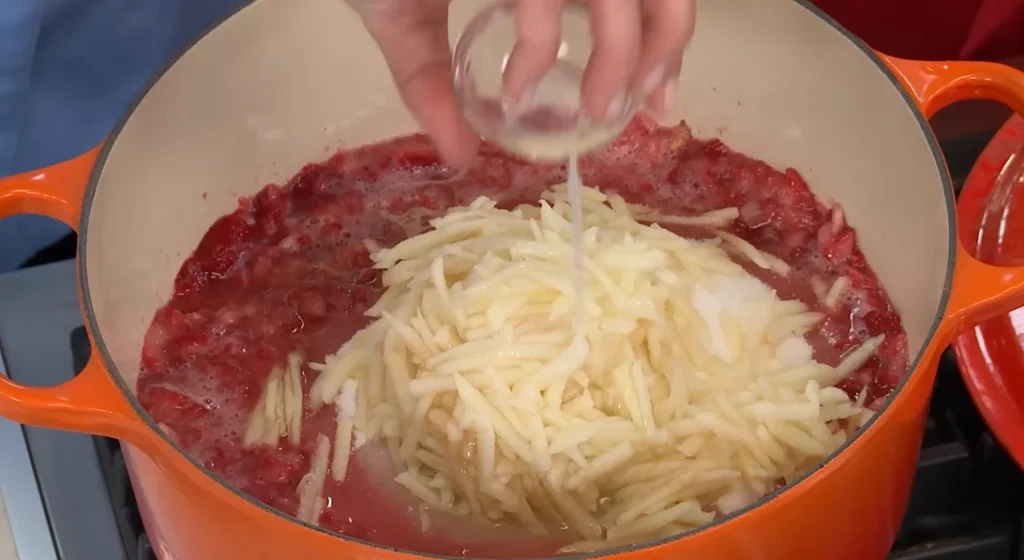
- Without pectin: Add the sugar and stir over low heat until it has completely dissolved.
- With pectin: Gradually stir the fruit pectin into the crushed strawberries and lemon juice before heating. Bring the mixture to a full rolling boil over high heat, stirring constantly. Add the sugar, stir until dissolved, then return the mixture to a full rolling boil.
Cook the Jam
Continue cooking over high heat until the mixture reaches a full rolling boil that cannot be stirred down.
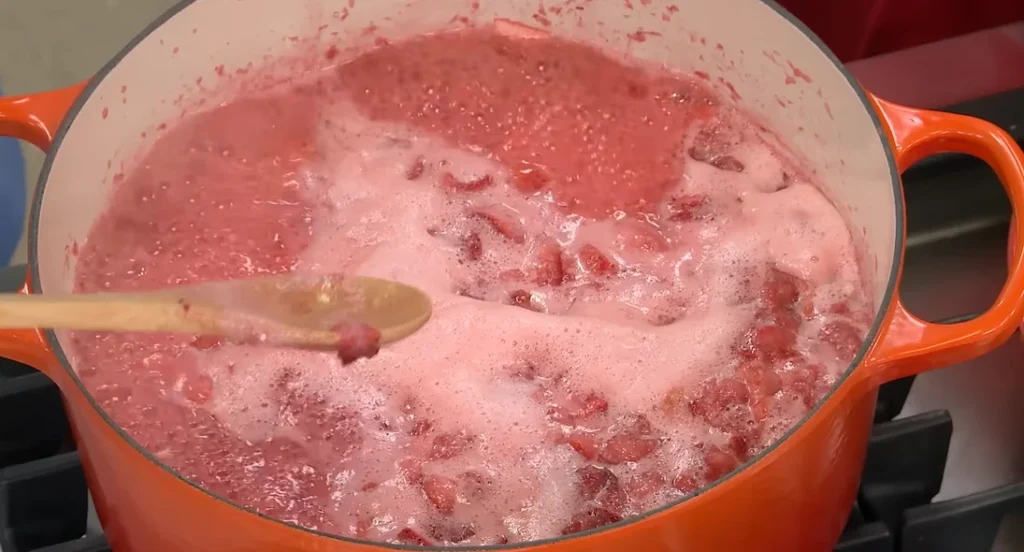
- With pectin: Boil hard for exactly 1 minute, stirring constantly, then remove the saucepan from the heat.
- Without pectin: Continue boiling, stirring frequently, until the jam reaches 220°F (105°C) or passes the frozen plate test.
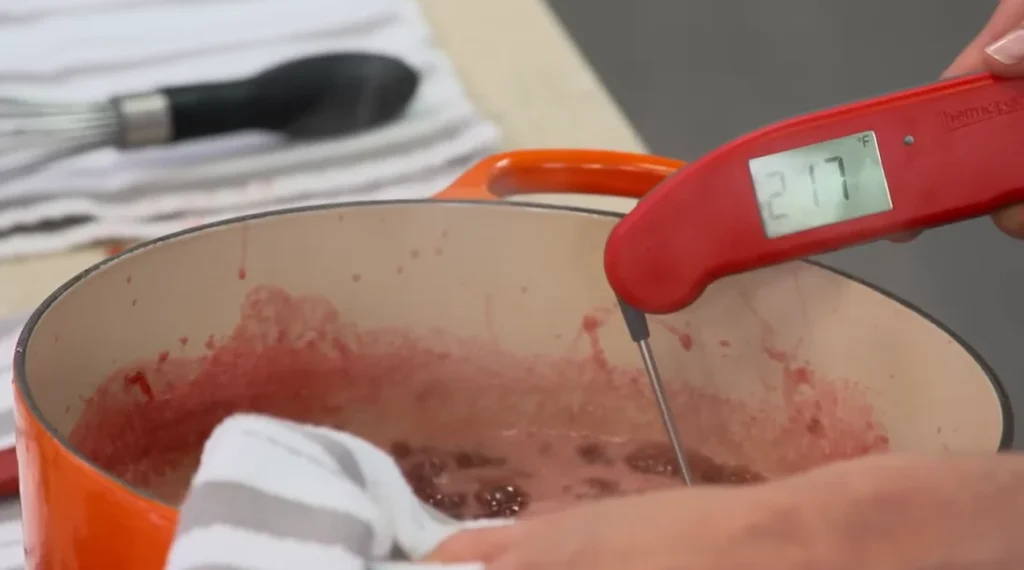
Begin checking the without pectin version after 10–15 minutes. Place a small spoonful of jam onto a frozen plate and let it stand for 1–2 minutes. Push the edge of the jam gently with your finger. If the surface wrinkles and the jam holds its shape, it is ready. If it still looks thin or runny, continue cooking for a few more minutes before testing again.
Skim off any foam if needed.
Then:
- Ladle the hot jam into hot, sterilized half-pint jars.
- Leave ¼-inch headspace.
- Remove any trapped air bubbles.
- Wipe the jar rims clean.
- Center the lids on the jars.
- Apply the bands until fingertip tight.
Can It
Prepare a boiling water canner or a large stockpot fitted with a rack before you begin cooking the jam.
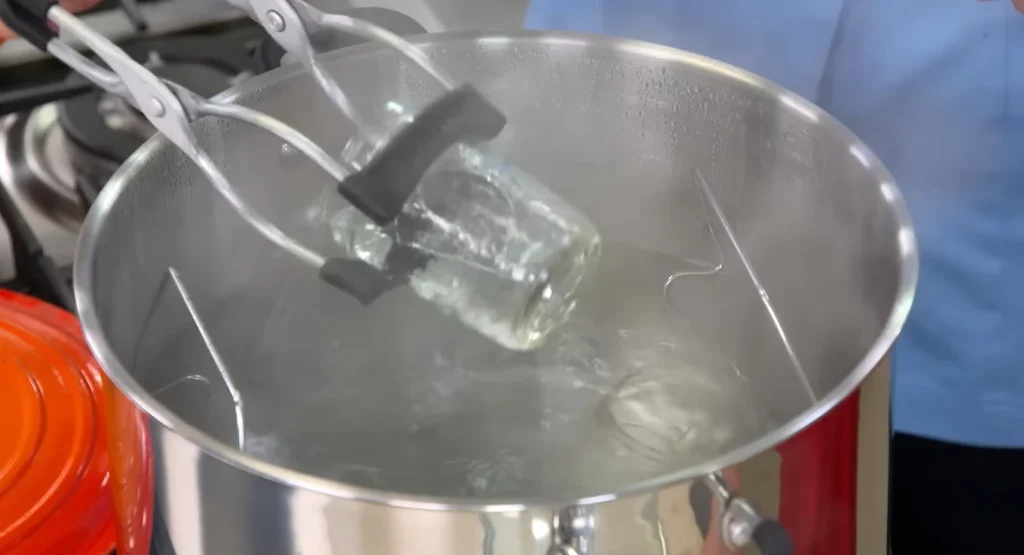
Keep the sterilized jars in simmering water until they are ready to use, but do not boil them. Wash the lids in warm, soapy water and set the bands aside.
- Place the filled jars into the canner using a jar lifter, leaving about 2 inches of space between the jars.
- Add enough boiling water to cover the jars by at least 1 inch.
- Cover and process for 10 minutes, adjusting the processing time for your altitude if necessary.
- Turn off the heat, remove the lid, and let the jars rest in the canner for 5 minutes.
- Carefully transfer the jars to a towel or cooling rack and allow them to cool undisturbed for 12–24 hours.
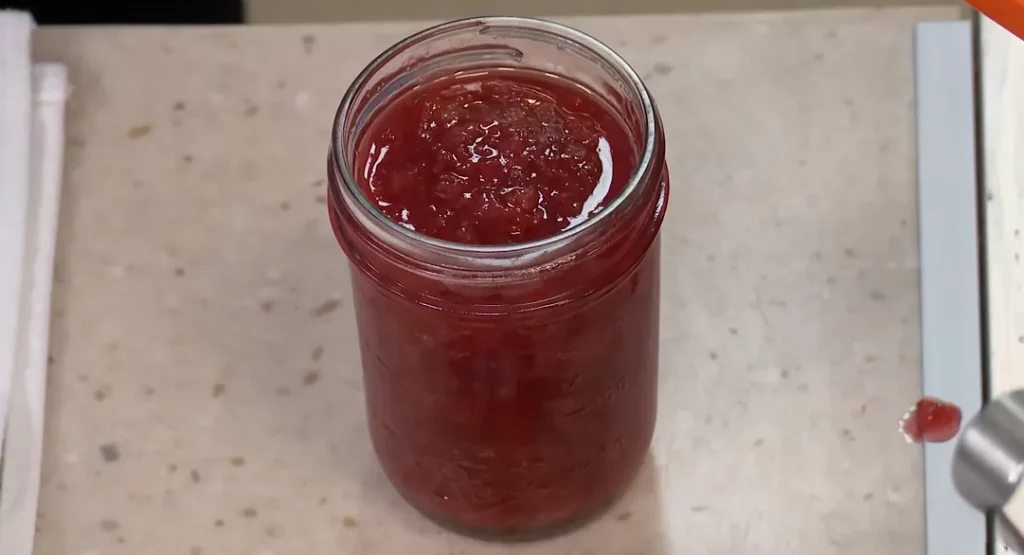
- After cooling, press the center of each lid. A properly sealed lid should not flex up or down. Refrigerate any unsealed jar and use it first.
Try Flavor Variations
You can easily customize your strawberry jam with one of these classic variations:
- Vanilla Strawberry Jam: Add half of a vanilla bean, split lengthwise, while the jam cooks. Remove the vanilla bean before filling the jars for a delicate vanilla flavor.
- Strawberry Balsamic Jam: Reduce the lemon juice to 1 tbsp and add 3 tbsp of good-quality balsamic vinegar to create a richer, deeper strawberry flavor.
- Lemony Strawberry Jam: Stir in the grated zest of 1 large lemon for a brighter citrus flavor.
- Black Pepper Strawberry Jam: Add ½ tsp freshly ground black pepper just before filling the jars. It gently enhances the sweetness of the strawberries without overpowering the fruit.
- If preferred, replace the granulated sugar with Xylitol or Monk Fruit sweetener. Keep in mind that alternative sweeteners may slightly affect the final texture and consistency.
Storage Tips and Shelf Life
The yield depends on the method you choose.
- Without pectin: Makes about 4 half-pint (8-ounce) jars.
- With pectin: Makes about 8 half-pint (8-ounce) jars.
From my experience, proper storage helps maintain the best flavor, texture, and quality.
- Store opened strawberry jam in the refrigerator for up to 3 months.
- Properly processed and sealed jars can be stored in a cool, dry, dark place for up to 2 years.
- Refrigerate the jam immediately after opening.
- If you do not process the jars using the water bath method, allow the jam to cool completely before refrigerating.
- Discard any jar with an unsealed lid, mold, an off smell, or other signs of spoilage.
Nutrition Insight
The nutrition will vary slightly depending on the amount of sugar used and whether you prepare the pectin or without pectin version.
Approximate nutrition per 1 tablespoon serving:
- Calories: 40–50
- Carbohydrates: 10–13g
- Sugar: 9–12g
- Protein: Less than 1g
- Fat: 0g
- Fiber: Less than 1g
- Vitamin C: Naturally present from fresh strawberries
From my experience, a small serving is enough to enjoy the fresh strawberry flavor while keeping portions balanced.
Expert Tips
- Choose ripe, fresh strawberries and remove any bruised or damaged berries before making the jam.
- Use a wide, heavy-bottomed saucepan so the jam cooks evenly.
- Stir frequently, especially once the jam begins to boil, to prevent sticking.
- Skim off any foam for a smoother, clearer finished jam.
- Use a candy thermometer or the frozen plate test to avoid undercooking or overcooking.
- Heat the jars before filling them with hot jam to reduce the risk of cracking.
- Always leave ¼-inch headspace for proper sealing.
- Process the jars for the recommended time and adjust for altitude when necessary.
Common Mistakes to Avoid
- Using underripe or poor-quality strawberries with less natural flavor.
- Cooking the jam over low heat instead of reaching a full rolling boil.
- Overcooking the jam until it becomes too thick after cooling.
- Skipping the frozen plate test or temperature check before removing the jam from the heat.
- Filling cold jars with hot jam instead of warm, sterilized jars.
- Leaving too little or too much headspace before sealing the jars.
- Forgetting to remove trapped air bubbles before applying the lids.
- Storing sealed jars without checking that the lids have sealed properly.
FAQ’s
When is strawberry jam ready after boiling?
The cooking time depends on the method you choose. For the pectin version, boil the jam hard for 1 minute after it returns to a full rolling boil. For the without pectin version, continue cooking until it reaches 220°F (105°C) or passes the frozen plate test. If the jam wrinkles slightly and holds its shape after resting for 1–2 minutes, it is ready.
How should homemade strawberry jam be stored?
Store opened strawberry jam in the refrigerator for up to 3 months. If the jars have been properly processed using the water bath canning method and sealed correctly, they can be stored in a cool, dry, dark place for up to 2 years. Once opened, always keep the jam refrigerated.
What is the correct way to process jam in a water bath?
Place the filled jars into a boiling water canner, making sure they are covered with at least 1 inch of water. Process for 10 minutes, adjusting the processing time for altitude if necessary. Turn off the heat, remove the lid, let the jars rest for 5 minutes, then carefully remove them and cool undisturbed for 12–24 hours before checking the seals.
How can you tell if a jar has sealed properly?
After the jars have cooled for 12–24 hours, press the center of each lid. A properly sealed lid should not flex up or down. If the lid moves when pressed, refrigerate the jam and use it first instead of storing it at room temperature.
Why is canning strawberry jam a great idea?
Water bath canning helps preserve the fresh flavor of strawberries while extending the shelf life of homemade jam. It reduces food waste during strawberry season, provides ready-to-use jam throughout the year, and makes homemade gifts that family and friends can enjoy. It is also an easy preservation method that can be used for many other fruit jams.