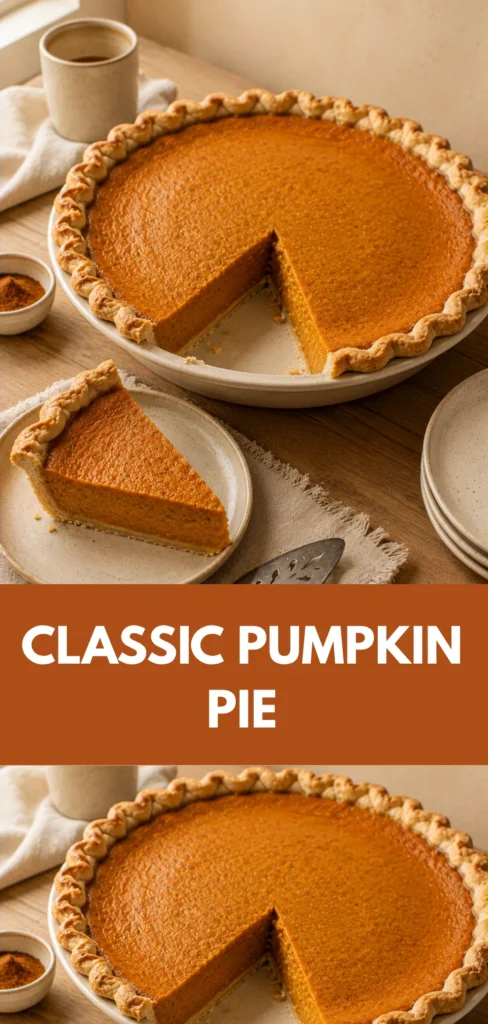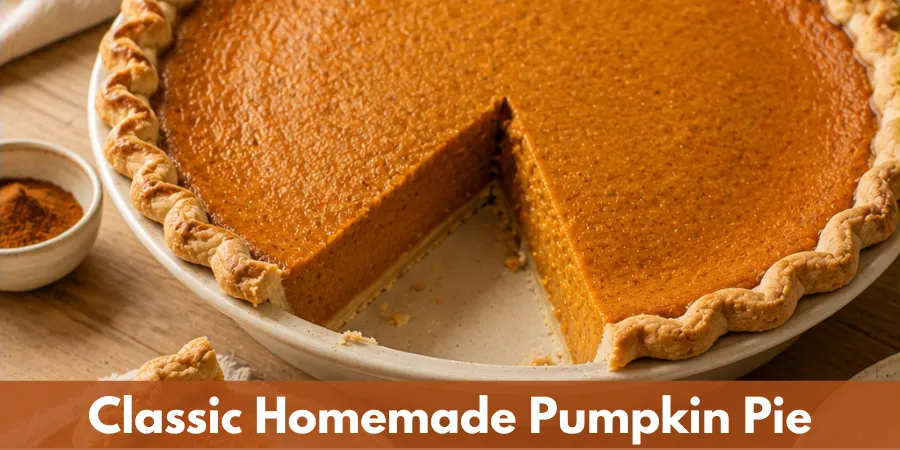
I spent most of my time making pumpkin pie from the recipe found on the back of Libby’s pumpkin can. It creates a classic pumpkin pie with the familiar flavor and texture many people expect from this traditional Thanksgiving dessert, but I found it a little boring when my kids continued choosing other pies instead.
That inspired me to experiment with different versions while still keeping the traditional pumpkin flavor people love. I wanted a recipe that felt richer and more special without becoming overly sweet or heavy.
Classic Homemade Pumpkin Pie-The Short Answer
The result is a pumpkin pie made with pumpkin puree, cream cheese, butter, eggs, sugar, vanilla, warm spices, and evaporated milk to create a smooth, creamy filling. After testing the recipe, I found that the ingredient balance creates a satisfying texture while allowing pumpkin to remain the main flavor.
For Thanksgiving desserts, this pie is easy to dress up without changing the base recipe. An optional caramel pecan topping adds extra richness and gives each slice a more special holiday finish. It is a simple way to elevate the dessert when serving guests or preparing a festive Thanksgiving table.
For my family’s favorite version, I use canned pumpkin puree and a flaky homemade crust. The crust is made completely from scratch, while an optional fresh pumpkin method uses mashed pumpkin puree that is properly drained and weighed before use.
This keeps the main recipe practical while still giving you the option to make the pie using fresh pumpkin when desired.
Why You’ll Love This Pumpkin Pie
Make this pumpkin pie ahead of time for a less stressful Thanksgiving dessert. Preparing the pie in advance helps make the entire holiday meal easier to manage, especially when multiple dishes need attention.
This recipe works well when prepared:
- One day before Thanksgiving Day
After baking, the pie is cooled and refrigerated until serving. This extra chilling time allows the custard filling to firm, making it easier to slice cleanly while creating a smoother, creamier texture.
Unlike a typical pumpkin pie, this version combines pumpkin, cream cheese, butter, and warm spices for a richer filling with a balanced sweetness. The cream cheese and butter add richness, while the pumpkin remains the main flavor instead of being covered by the dairy ingredients.
Even people who usually pass on pumpkin pie may enjoy this version because the texture is smoother, the filling is creamier, and the sweetness remains controlled.
How to Make Pumpkin Pie from Scratch
For a pumpkin pie from scratch, begin with the homemade crust. Combine flour and salt, then cut in cold butter using a pastry blender until mostly pea-size pieces remain.
Add:
- 3 tablespoons water
and mix gently.
Add up to:
- 1 more tablespoon water
only if needed.
The dough should hold together without becoming overworked. Shape it into a disk, wrap it tightly, and refrigerate for:
- 30–60 minutes
Roll the chilled dough on a lightly floured surface until it reaches about:
- ⅛ inch thickness
Make the dough approximately:
- 1½–2 inches larger
than a:
- 9-inch deep-dish pie pan
Ease the dough into the pan, flute the edges, and return the crust to the refrigerator while preparing the filling.
For the creamy filling, beat softened cream cheese with an electric mixer for:
- 2–3 minutes
Scrape the bowl as needed until the mixture becomes completely smooth and lump-free.
Add:
- 425 g pumpkin puree
and mix for:
- 1–2 minutes
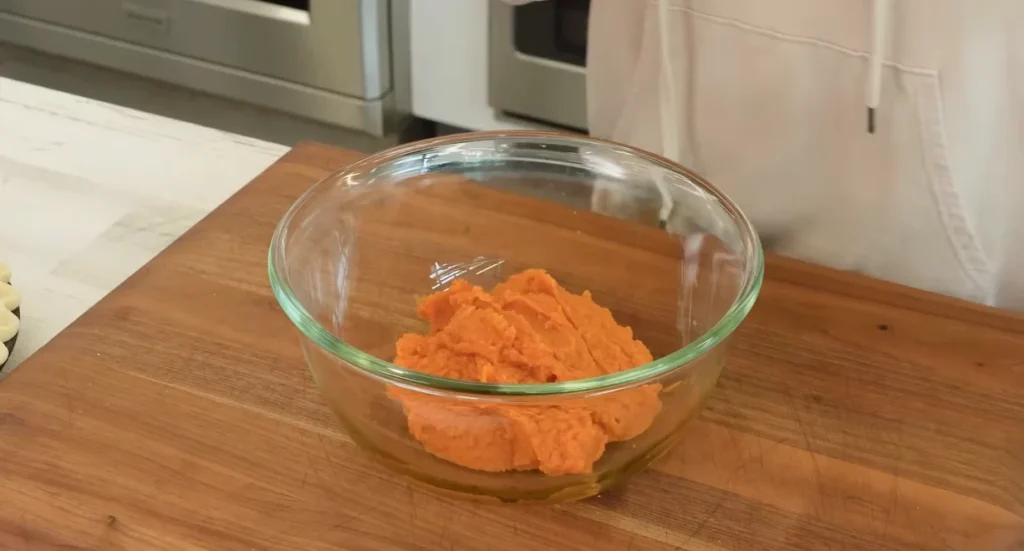
until combined.
Next add:
- 150 g granulated sugar
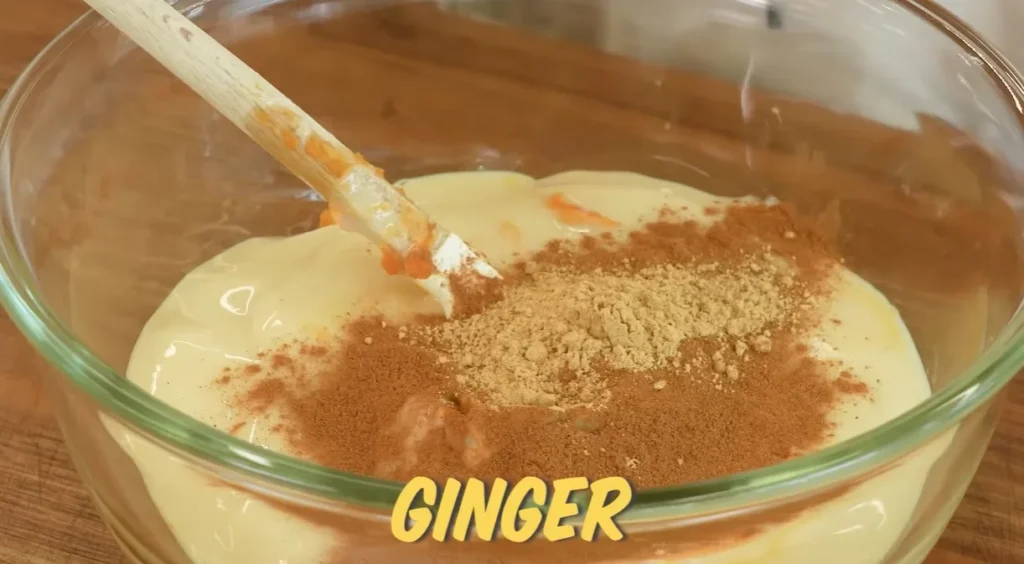
along with:
- Cinnamon
- Ginger
- Nutmeg
- Cloves
- Salt
Mix only until the ingredients are evenly incorporated.
Lightly beat the eggs separately, then gradually add them at low speed. Avoid aggressive whipping because the goal is to create a smooth custard filling rather than an aerated mixture.
Continue mixing the pumpkin filling until the ingredients are fully combined and the mixture looks smooth and uniform.
Add:
- 1 teaspoon pure vanilla extract
- 1 can evaporated milk
Mix on low speed until the evaporated milk is fully incorporated.
The finished filling should be creamy and smooth without visible lumps. Avoid overmixing at this stage because too much air can affect the final custard texture during baking.
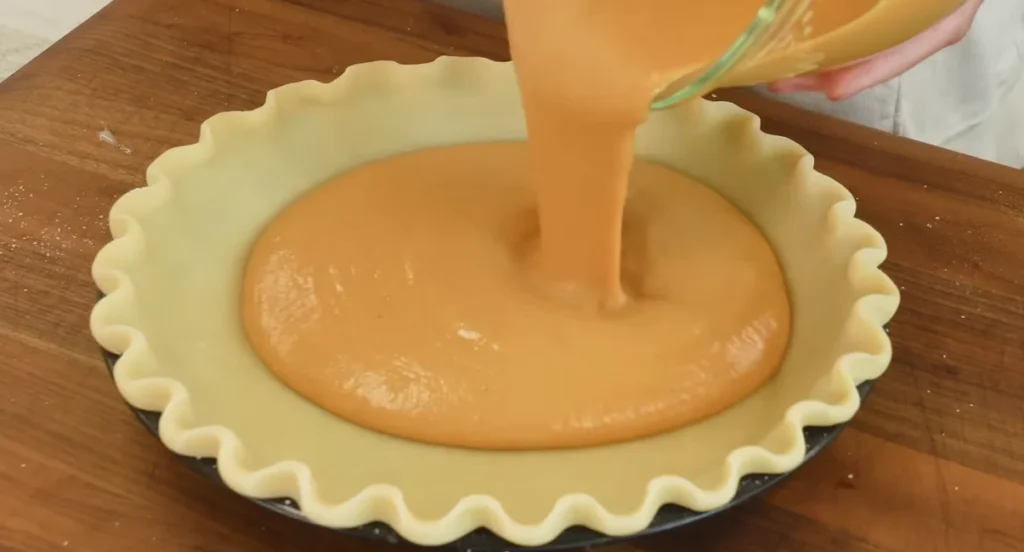
The filling should have a thick but pourable consistency before it is added to the prepared crust.
Prepare the Crust and Fill the Pie
Remove the chilled crust from the refrigerator and place it on a stable surface.
Pour the prepared pumpkin filling into the crust, leaving enough space for the filling to expand slightly during baking.
Place the filled pie on a baking sheet before transferring it to the oven. This makes it easier to move the pie and helps catch any possible spills during baking.
Bake the Pumpkin Pie
Start baking the pie at:
- 400°F
for:
- 15 minutes
Then reduce the oven temperature to:
- 350°F
and continue baking for:
- 40–50 minutes
The total baking time is approximately:
- 55–65 minutes
The pie is finished when the edges are set and the center still has a slight gentle wobble.
Do not wait until the entire center becomes completely firm in the oven. The custard continues to set as it cools because of the residual heat.
Overbaking can cause the filling to become dry or create cracks as the custard contracts during cooling.
Cooling and Chilling the Pumpkin Pie
Remove the baked pumpkin pie from the oven and allow it to cool completely at room temperature.
Cooling slowly helps the custard structure stabilize and reduces the chance of cracking.
Once cooled, cover the pie and refrigerate it until ready to serve.
Chilling the pie gives the filling additional time to firm, making it easier to slice while improving the creamy texture.
For the best texture, allow enough chilling time before serving rather than slicing the pie while it is still warm.
Ingredients Needed
Homemade Pie Crust
For the homemade crust, use:
- 1½ cups all-purpose flour
- ½ teaspoon fine salt
- ½ cup cold unsalted butter, cubed
- 3–4 tablespoons ice water
The cold butter is important because it creates flaky layers in the crust. Keep the butter cold while mixing and avoid overworking the dough.
The ice water should be added gradually because different flour brands and kitchen conditions can affect how much liquid the dough needs.
The finished dough should hold together when pressed without becoming sticky or overly soft.
Pumpkin Pie Filling
The filling uses:
- 425 g pumpkin puree
- 113 g cream cheese
- 57 g unsalted butter
- 150 g granulated sugar
- 2 large eggs
- 1 can evaporated milk
- 1 teaspoon pure vanilla extract
The cream cheese and butter add richness while keeping the filling smooth and creamy.
Pumpkin puree provides the main flavor, while evaporated milk creates the classic custard texture associated with traditional pumpkin pie.
Make-Ahead Pumpkin Pie
Planning ahead makes this pumpkin pie especially useful for holidays, Thanksgiving, and busy dessert preparation.
You can prepare the pie in advance so the dessert is ready when you need it. After baking, allow the pie to cool completely before covering and refrigerating.
Making the pie ahead of time also gives the custard filling more time to set. This helps create cleaner slices and allows the pumpkin, warm spices, cream cheese, and butter flavors to blend together.
For the best texture, prepare the pie:
- 1 day before serving
Keep it covered in the refrigerator until ready to serve.
How to Store Pumpkin Pie
Once the pumpkin pie has cooled completely, cover it properly and store it in the refrigerator.
The chilled environment helps maintain the custard texture and keeps the cream cheese filling fresh.
For the best quality, keep the pie refrigerated and serve it cold or slightly cool depending on your preference.
When storing leftovers, cover the pie tightly to prevent it from absorbing odors from other foods in the refrigerator.
How to Freeze Pumpkin Pie
Pumpkin pie can be frozen when you need to prepare it further in advance.
Allow the pie to cool completely before freezing.
Cover the pie tightly with plastic wrap, then add an additional layer of protection using foil or a freezer-safe container.
Freezing the pie properly helps protect the crust and filling texture.
When ready to serve, thaw the pie in the refrigerator before removing the covering and serving.
Allowing the pie to thaw slowly helps maintain the creamy custard texture and prevents excess moisture from affecting the crust.
Tips for a Smooth, Crack-Free Pumpkin Pie
Use Room Temperature Ingredients
For the smoothest filling, allow ingredients such as cream cheese and eggs to come closer to room temperature before mixing.
Room temperature cream cheese blends more easily with the pumpkin puree and helps create a smooth filling without lumps.
Cold ingredients can make the filling harder to combine evenly and may affect the final texture.
Avoid Overmixing the Filling
Mix the filling until the ingredients are combined and smooth, but avoid whipping excessive air into the mixture.
Too much air can expand during baking and then collapse as the pie cools, which may contribute to cracks on the surface.
The goal is a creamy, dense custard texture rather than a light, airy filling.
Do Not Overbake the Pie
One of the most important steps for a smooth pumpkin pie is knowing when to remove it from the oven.
The center should still have a slight gentle wobble when the pie is finished baking.
The residual heat continues cooking the custard after the pie leaves the oven, allowing the center to finish setting as it cools.
Waiting until the entire center becomes firm while still in the oven can lead to a dry texture and increase the chance of cracks.
Cool the Pie Slowly
Allow the pumpkin pie to cool gradually after baking.
Rapid temperature changes can affect the custard structure and increase the chance of cracking.
Letting the pie cool naturally allows the filling to stabilize while maintaining a smooth, creamy texture.
Notes
For the best results, use a deep-dish pie pan that can hold the full amount of pumpkin filling.
A:
- 9-inch deep-dish pie pan
works well for this recipe.
The crust should be rolled evenly so it can support the filling while baking.
When preparing the homemade crust, keep the butter cold and add water gradually. The dough should come together without becoming overworked because excessive mixing can reduce flakiness.
For fresh pumpkin puree, measure the finished drained puree rather than relying only on the original raw pumpkin weight. Pumpkin varieties contain different amounts of moisture, so using the finished puree amount helps maintain the correct filling balance.
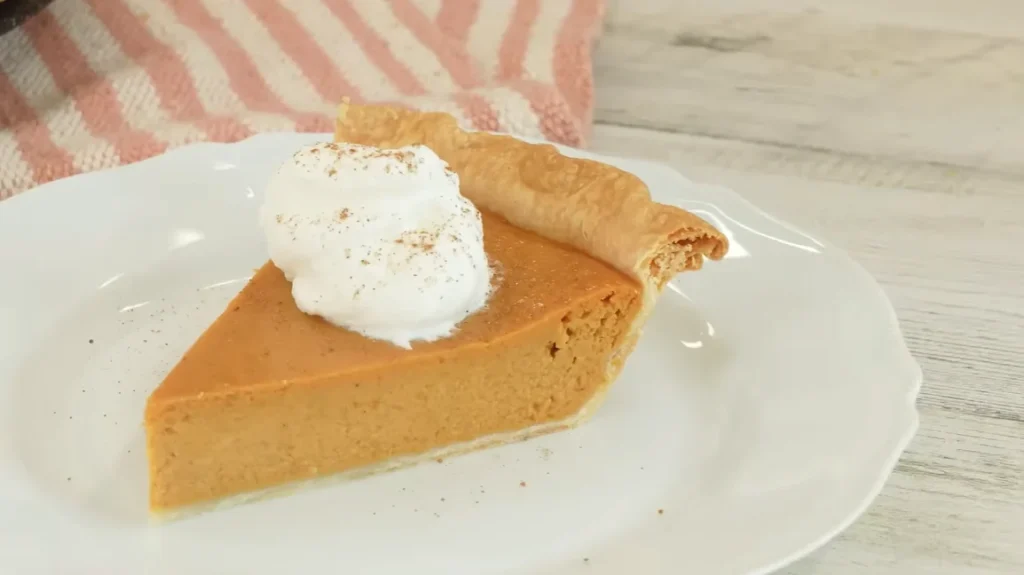
The pumpkin pie can be served plain or finished with optional toppings such as whipped cream or caramel pecan topping.
Frequently Asked Questions
Should You Blind Bake the Pie Crust?
No, you can skip blind baking the pie crust for this pumpkin pie recipe.
The engineered method uses an unbaked crust, and the butter in the crust helps create a flaky texture as it bakes together with the pumpkin filling.
There is no need to pre-bake the crust with pie weights before adding the filling.
Instead, the filled pie goes directly into the oven and follows the baking method:
- 400°F for 15 minutes
before reducing the temperature for the remaining baking time.
How Long Should Pumpkin Pie Chill Before Serving?
Yes, chilling is an important step for this pumpkin pie.
After baking, allow the pie to cool at room temperature for:
- 1–2 hours
Then refrigerate it within:
- 2 hours
This gives the filling time to begin settling before refrigeration and helps create cleaner slices.
Allow at least:
- 4 hours
of chilling time before serving.
For the best texture, overnight chilling allows the custard to become firmer while maintaining its creamy consistency.
Pinterest Pins